Homework Assignment 5
Explore the lightfields, focal stacks, and depth from defocus
- Synthesize one from a light field image captured with a plenoptic camera
- From the synthetic focal stack, you will compute an all-in-focus image and a depth map using depth from defocus
Lightfield rendering, focal stacks, and depth from defocus
Initials
먼저 주어진 lightfield 이미지를 사용하기 용이하게 5D matrix 형태로 변환해준다.
lensletSize = 16;
image5d = zeros(lensletSize, lensletSize, H/lensletSize, W/lensletSize,3); % (u, v, s, t, c)
[u, v, s, t, c] = size(image5d);
for i = 1:u
    for j = 1:v
        for k = 1:s
            for l = 1:t
                image5d(i, j, k, l, :) = image((k-1)*u+i,(l-1)*v+j,:);
            end
        end
    end
end
image5d = image5d/255;
Sub-aperture views
두번째로는 u, v를 고정하고 s, t 값을 변화하면서 다양한 aperture view에 따른 모자이크 이미지로 재배열한다.
mosaic = zeros(H, W, C);
for i = 1:u
    for j = 1:v
        for k = 1:s
            for l = 1:t
                mosaic(k+(i-1)*s,l+(j-1)*t,:) = image5d(i, j, k, l, :);
            end
        end
    end
end
이에 대한 결과는 다음과 같다.
Refocusing and focal-stack generation
위에서 재배열한 이미지를 토대로 다양한 focal lengh를 가진 이미지들의 집한 focal-stack를 생성한다.
앞선 수식을 통해서 shift된 s, t에 대하여 u, v의 평균값을 구하면 refocus된 이미지를 만들 수 있다. 이때 d의 값을 변화시키면서 다양한 focal length에 대한 이미지를 생성할 수 있다. 이에 대한 코드는 다음과 같다.
refocused_image = zeros(s, t, c);
d_list = [0, 0.3, 0.6, 0.9, 1.2, 1.5, 1.8];
refocused_images = cell(7, 1);
for d = 1:7
    for i = 1:u-1
        for j = 1:v-1
            tmp = mosaic((i-1)*s+1:(i-1)*s+s,(j-1)*t+1:(j-1)*t+t,:);
            F = griddedInterpolant(tmp);
            xq = (1:s)+d_list(d)*i;
            yq = (1:t)-d_list(d)*j;
            zq = (1:c);
            vq = F({xq, yq, zq});
            refocused_image = refocused_image + vq;
        end
    end
    refocused_image = refocused_image/(u*v);
    refocused_images{d} = refocused_image;
    imwrite(refocused_image, "refocused_image_"+d_list(d)+".png");
end
0부터 1.8까지 총 7개의 d값을 사용하였으며 matlab의 griddedInterpolant 함수를 사용하여 이미지를 shift하였다. 이때 한가지 유의해야하는 점은 shift할 mesh를 설정할때 shift되는 값의 x와 y의 부호를 반대로 해주는 것이다. 이에 대한 결과 이미지들은 다음과 같다.


All-focus image and depth from defocus
마지막으로 앞서 생성한 focal-stack을 가지고 all-focus 이미지와 depth map를 만들어준다.
all-focus 이미지의 경우 가우시안 필터를 통해서 sharp한 영역을 구하여 모든 stack에서 sharp한 영역에 높은 weight을 주어서 이미지를 합하면 된다. depth map의 경우 all-focus 이미지를 생성할때 구한 sharp한 영역에 대한 weight를 가지고 d에 대해서 합하면 된다. 이때 이미지의 sharp한 영역을 구할때 적용한 가우시안 필터의 시그마(sigma1)는 2, sharp한 영역을 확장시키기 위한 가우시안 필터의 시그마(sigma2)는 4를 사용하였다.
sharpness_sum = zeros(s, t);
weight_sum = zeros(s, t, c);
depth_sum = zeros(s,t);
for p = 1:7
    refocused_image = refocused_images{p};
    XYZ = rgb2xyz(refocused_image);
    Y = XYZ(:,:,2);
    sigma1 = 2; %0.2
    sigma2 = 4; %2
    low = imgaussfilt(Y, sigma1);
    high = Y-low;
    sharpness = imgaussfilt(high.^2, sigma2);
    for i = 1:3
        weight_sum(:,:,i) = weight_sum(:,:,i) + sharpness.*refocused_image(:,:,i);
    end
    sharpness_sum = sharpness_sum + sharpness;
    depth_sum = depth_sum + sharpness.*d_list(p);
end
all_focus_image = weight_sum./sharpness_sum;
depth_map = depth_sum./sharpness_sum;
sigma1과 sigma2를 변경했을때의 all focus 이미지와 depth map의 결과는 각각 다음과 같다.

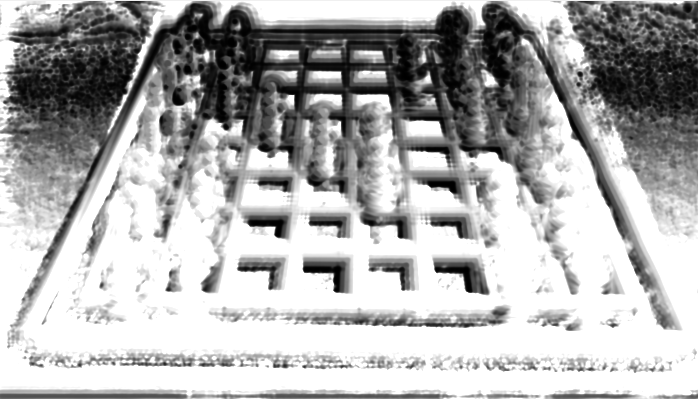
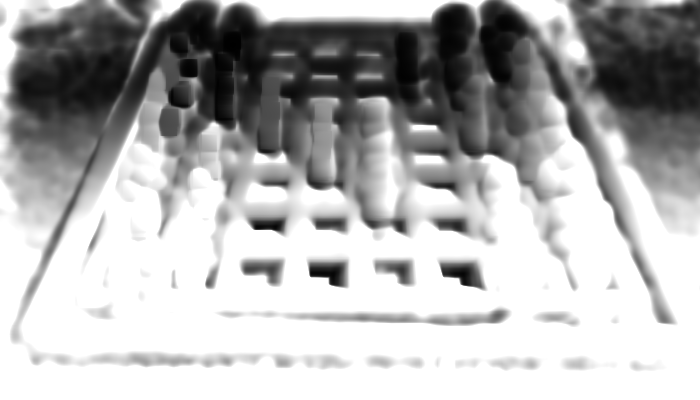
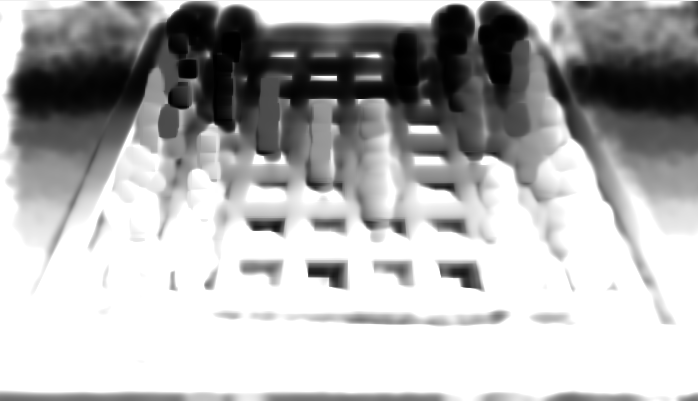
all focus 이미지에서는 각각의 결과 차이가 명확하게 차이가 나지는 않지만 sigma2의 크기가 작을 수록 object 외각에 왜곡이 발생했다. sigma1의 크기가 작을때에는 depth map에서 체스판의 밑부분이 뚜렷하게 보이지 않았다.
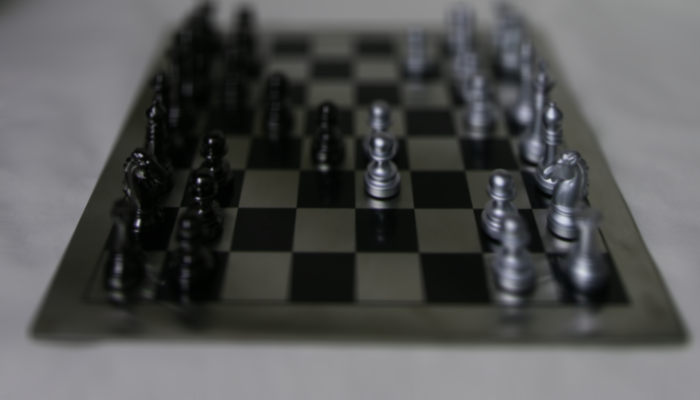
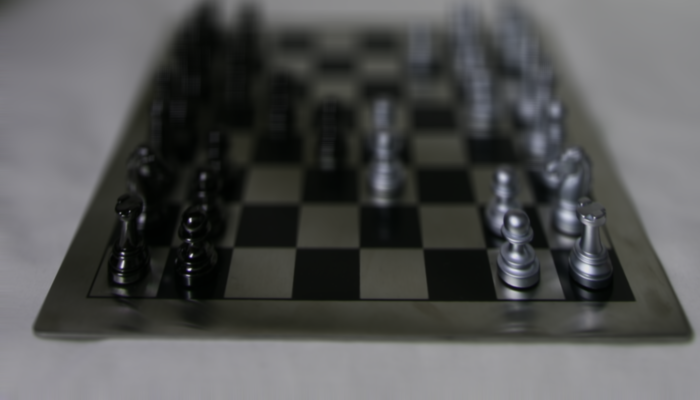
Capture and refocus a light field of your own using a standard camera
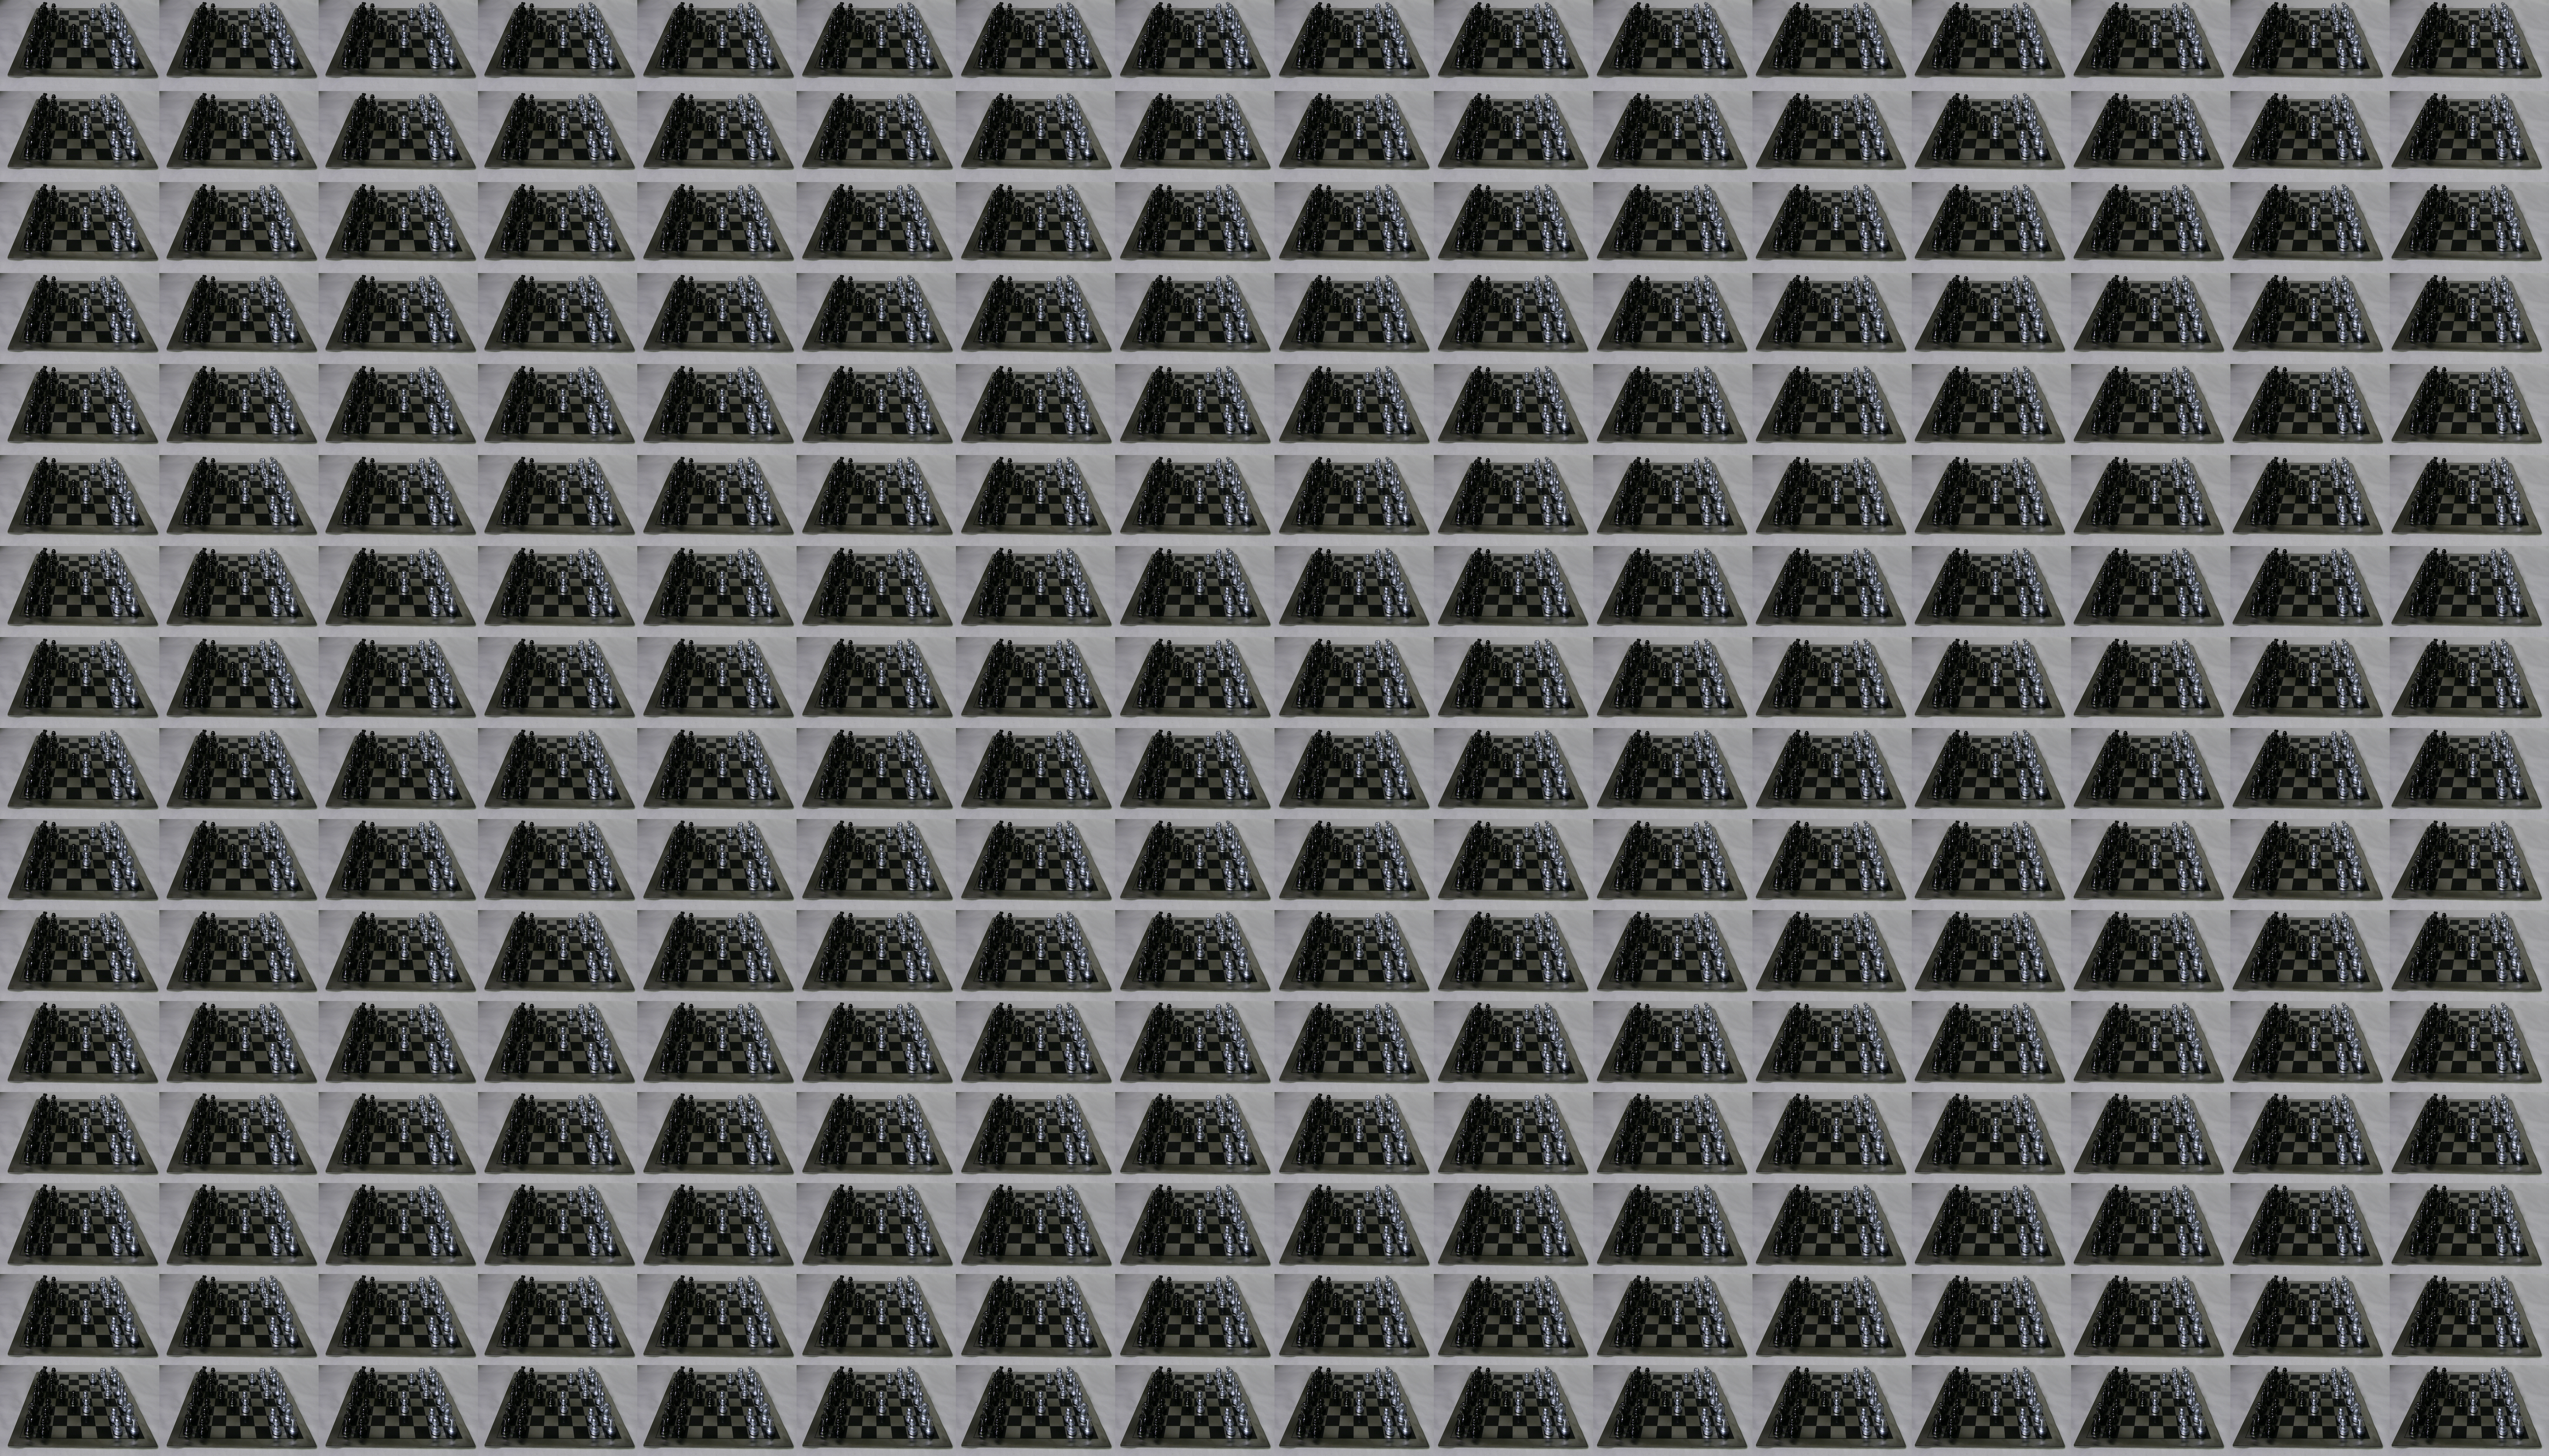
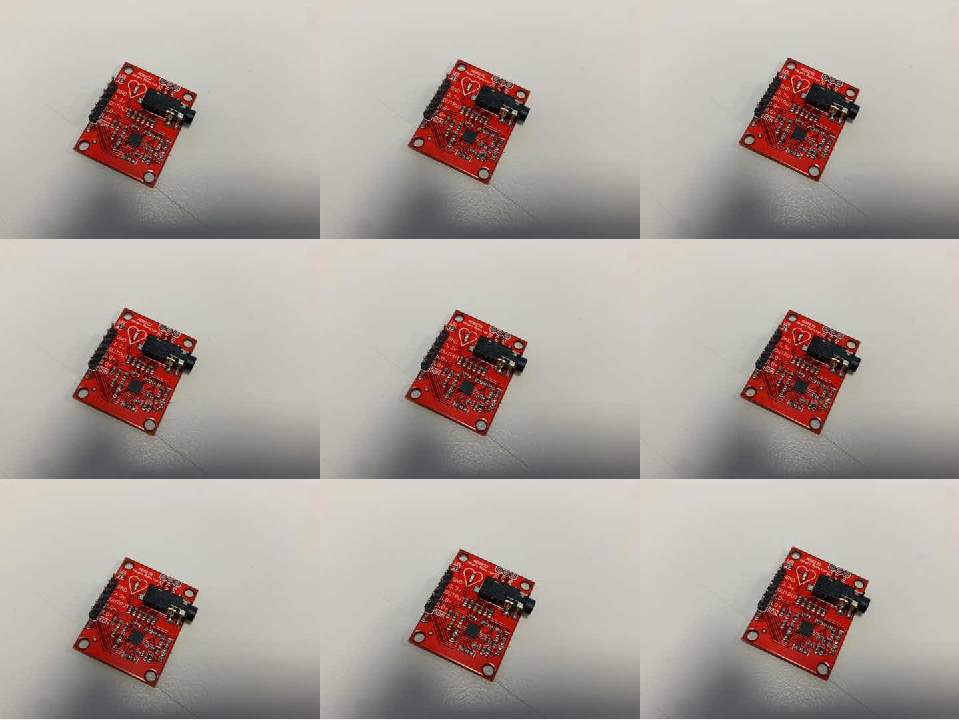
iPhone11 pro를 사용하여 하나의 카메라를 가지고 여러 location에서 같은 object를 촬영하여 lightfield 이미지를 만들어보았다. 아래 사진과 같이 총 9개의 3x3 사이즈의 이미지를 촬영하고

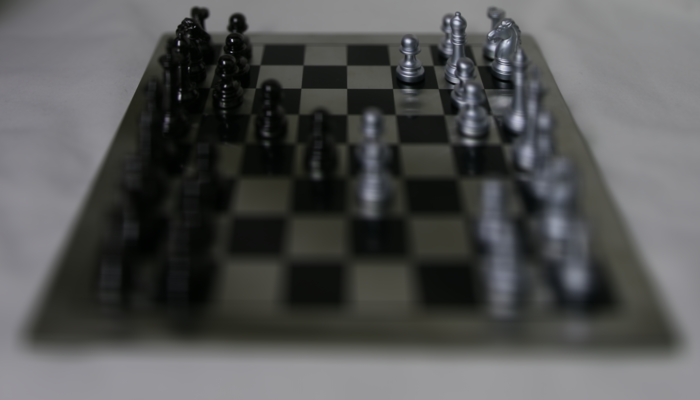
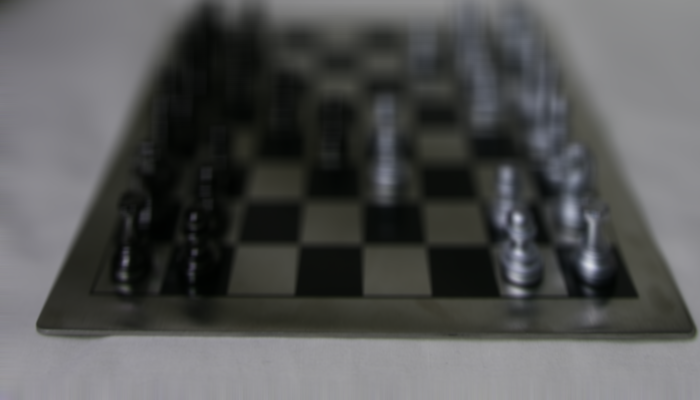
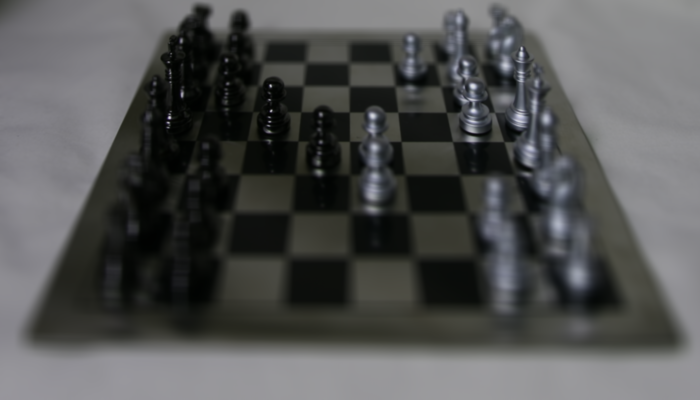
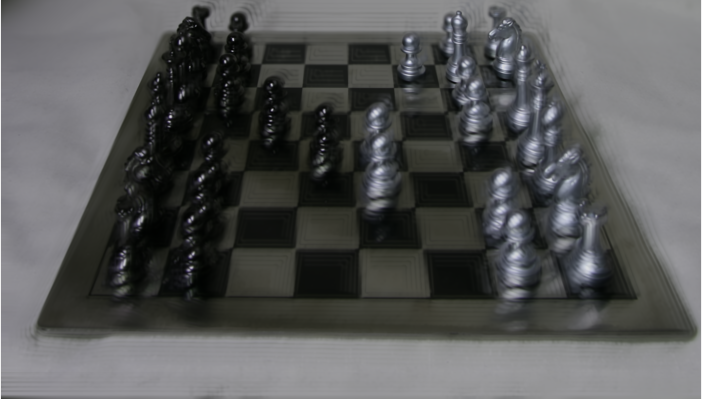
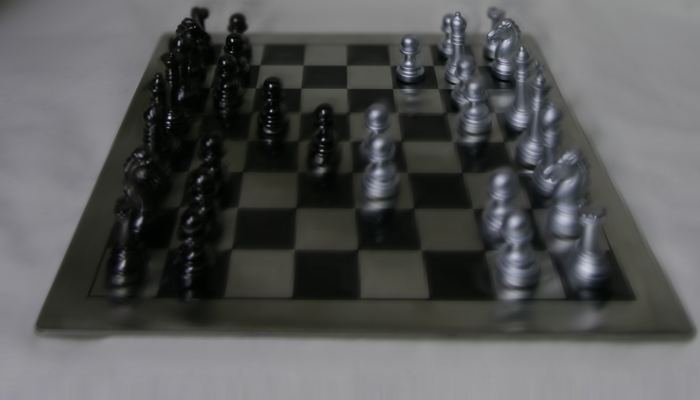
이를 이용하여 다음 이미지들과 같이 mosaic 이미지를 만들고 refocusing 이미지를 만들어주었다.

lightfield 이미지를 촬영하기 위한 전문 장비없이 직접 사람손으로 사진을 촬영해서 그런지 완벽한 lightfield 이미지를 얻을 수 없었다. 일반적인 카메라로 lightfield 이미지를 만들기 위해서는 레고나 외부 렌즈와 같이 추가적인 장비가 필요할 것이라고 생각된다